 how-to
How to Measure Patio for Pergola: Pro Guide
Table of Contents
- Start With a Clear Plan: Why Measuring Matters
- Step 1: Map Your Patio Footprint and Obstacles
- Step 2: Measure Patio for Pergola Width and Depth
- Step 3: Understand Standard Pergola Dimensions
- Step 4: Plan Pergola Post Placement Correctly
- Step 5: Check Pergola Clearance Requirements
- Attached vs. Freestanding: Ledger Board and Roof Overhang
- Conclusion: Your Perfect Pergola Fit Starts Here
- Frequently Asked Questions
Last Updated: September 8, 2026
Choosing the right pergola starts with accurate measurements, not guesswork. Learning how to measure patio for pergola correctly prevents costly mistakes like an oversized frame that crowds your outdoor living space or a structure that blocks a walkway. The single biggest factor in a successful install is precision before you order.
Below, we'll walk through a proven, step-by-step method to measure patio for pergola placement. You'll learn how to map obstacles, determine the correct width and depth, plan post placement, and verify clearance requirements so your new shade structure fits perfectly the first time. The most common error we see is measuring the roof line instead of the post line, a distinction that changes everything about your footprint.
Start With a Clear Plan: Why Measuring Matters
A pergola is a permanent structure, so the planning phase deserves your full attention. Accurate measurements determine which pergola dimensions will work in your space, whether you have a compact 10' x 10' patio or a sprawling 12' x 20' outdoor area. Tape measure errors translate directly into structural issues, wasted money, and an eyesore you can't easily move.

Before you touch a measuring tape, confirm your patio's structural integrity. Concrete slabs and paver bases both support pergolas, but the attachment method differs. You also need to verify local building codes and setbacks, since many municipalities require a specific distance from property lines. Checking local zoning and permit requirements before you measure can save you from designing a structure that won't pass inspection.
Step 1: Map Your Patio Footprint and Obstacles
Start by sketching your patio to scale on graph paper, which gives you a visual measurement guide a tape measure alone cannot provide. Include the overall length and width, then mark every permanent feature: house walls, door swings, outdoor kitchens, fire pits, planters, and utility boxes. This obstacle mapping step separates a smooth installation from a series of frustrating surprises.
Walk the perimeter and note anything overhead as well, including roof overhangs, gutter downspouts, and low-hanging tree branches. These affect both the pergola's placement and its usable height. A common mistake is planning a pergola directly under a second-story window or eave, only to discover the roof pitch prevents proper installation.
Step 2: Measure Patio for Pergola Width and Depth
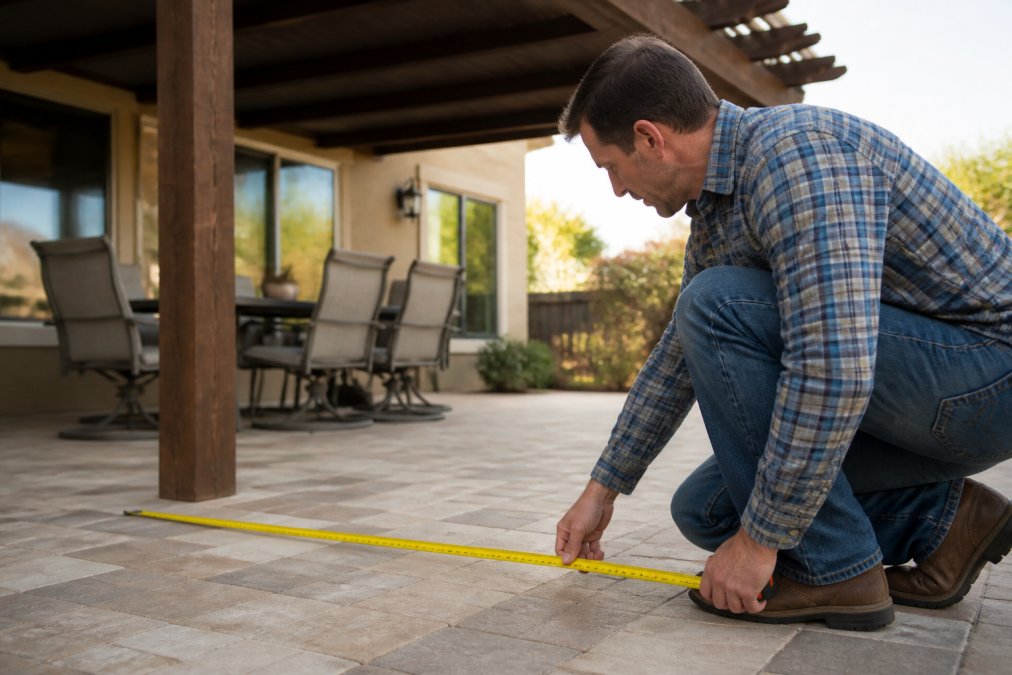
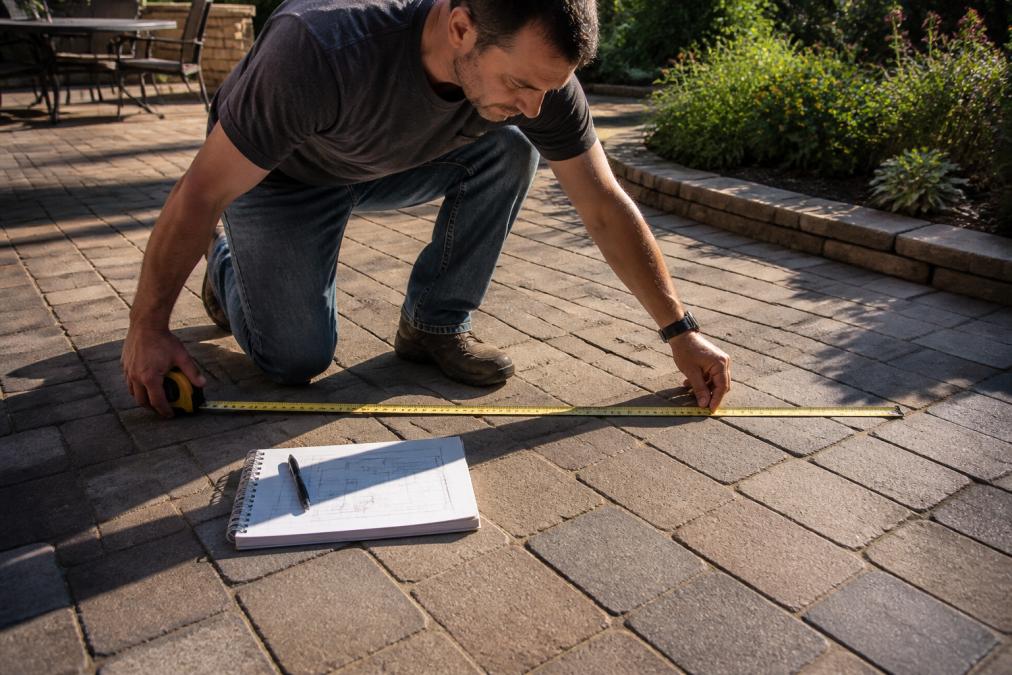
The two numbers you need are the patio's overall length and overall width, measured at the widest points. Run your tape measure along the outside edge of the patio surface, not the surrounding grass or landscaping. Record both dimensions in feet and inches, then subtract at least 2 feet from each side to establish a comfortable buffer zone between the pergola's posts and the patio's edge.
This buffer keeps the structure visually balanced rather than perched on the boundary and provides walkway clearance so you're not squeezing past furniture or posts. For an attached pergola, measure from the house wall outward to determine the projection, which is the distance the structure extends into the yard.
Step 3: Understand Standard Pergola Dimensions
Standard pergola dimensions typically range from 10' x 10' up to 12' x 20', with the first number representing width and the second representing depth. These sizes align with common patio footprints and standard lumber lengths, which keeps costs reasonable. If your patio measures 12' x 16', for instance, a 10' x 12' pergola leaves a comfortable margin on all sides.

Roof overhang adds another layer to your calculations. The actual roof footprint extends beyond the posts, so a pergola marketed as 10' wide may measure 10' 6" across the louvers. This is where the confusion between post-to-post and roof-to-roof measurements causes problems. Always confirm which dimension the manufacturer specifies, since your clearance calculations depend on the true footprint.
| Pergola Size | Minimum Patio Size | Best Patio Shape | Typical Use |
|---|---|---|---|
| 10' x 10' | 12' x 14' | Square | Dining for 4-6 |
| 10' x 12' | 12' x 16' | Rectangle | Lounge seating |
| 12' x 20' | 14' x 24' | Large rectangle | Full outdoor room |
Step 4: Plan Pergola Post Placement Correctly
Pergola post placement determines both the structural integrity and the usable space beneath the roof. The most common measurement error is confusing the post-to-post footprint with the roof-to-roof footprint. These are two different numbers, and mixing them up leads to a structure that violates clearance rules or crowds a walkway.
Post-to-Post (The Footprint): This is the distance from the outside edge of one post to the outside edge of the opposite post. This dimension defines your structural footprint on the patio, dictating where your anchor bolts go and how much physical space the legs occupy.
Roof-to-Roof (The Shade Coverage): This is the total width or depth of the pergola including the roof overhang, louvers, or rafters. On a louvered pergola, this is often 6 to 12 inches wider than the post-to-post measurement on each side. This dimension matters for shade coverage and for ensuring you don't block a second-story window or violate a property line setback.
Marking the Column Centers:

- Locate the Anchor Points: Using the manufacturer's spec sheet, measure out from your reference wall (or the center of the patio) to find the exact center of each post base. Use chalk or painter's tape to mark these spots.
- Verify with String Lines: Run a taut string line between the marks on the long side. Measure the distance between the strings at the front and back to ensure they are parallel.
- Check the Diagonals: Measure diagonally from corner to corner. If the two diagonal measurements are equal (within 1/4 inch), your layout is perfectly square. If they differ, shift the corners until they match.
- Account for Post Base Size: The center mark is your reference, but the actual anchor bolts will be offset. Place the post base hardware on the mark and trace the bolt holes to ensure they don't fall on a patio joint or crack.
Obstacle Mapping for Posts:
Before you finalize the post locations, look down. Your posts need to avoid existing rebar in the concrete, paver seams, and radiant heating loops if you have them. While you can't see these, you can often feel them. If you hit hard rebar while drilling, you may need to shift the post base slightly. More importantly, ensure the post footprint doesn't land on a downspout drain or a low-voltage landscape lighting wire that runs along the patio edge. Mapping these obstacles in Step 1 will save you from drilling through a live wire or a water line.
The 'Buffer Zone' Rule:
It is common practice to keep the post base at least 12 to 18 inches away from the edge of the patio slab. This prevents the concrete from spalling at the edge under the weight of the post and gives you room for a post-base cover or trim. If you are installing on pavers, you must cut the pavers to fit around the post base or use a surface-mount bracket that sits on top of the pavers, never set the post directly on a single paver without a solid concrete footer beneath it.
Step 5: Check Pergola Clearance Requirements
Pergola clearance requirements fall into two categories: vertical headroom and horizontal spacing. However, the most overlooked variable that affects both is the patio slope. Ignoring the grade is the fastest way to end up with a pergola that has 7 feet of clearance on one side and 6 feet 6 inches on the other.
Measuring Patio Slope and Leveling:
Most patios are poured with a slight slope (typically 1/4 inch per foot) to direct water away from the house. This is critical for drainage, but it complicates your pergola installation. You cannot simply measure the height at one post location and assume it is the same at the others.
- Use a Water Level or Laser Level: A standard 4-foot bubble level is too short to catch the overall grade. Use a water level (a clear hose filled with water) or a rotary laser level to establish a true horizontal reference point across the entire patio.
- Measure the Drop: Place the level at the highest point of the patio (usually near the house) and measure the vertical drop to the lowest point (usually the outer edge). For a 12-foot deep patio with a 1/4 inch per foot slope, the total drop will be 3 inches.
- Calculate the Impact: This 3-inch drop means your posts will need to be 3 inches longer on the low side to keep the roof beam level. If you are using a standard 8-foot post, you will need to cut the high-side posts down or use adjustable post bases on the low side to shim the difference.
Horizontal Clearance and Setbacks:
Horizontal clearance applies to walls, fences, and neighboring structures. Keep at least 2 feet between the pergola's outside edge (roof-to-roof) and any wall or fence to allow for airflow and maintenance access. However, local building codes often dictate a specific setback from property lines, this is often 5 to 10 feet, depending on your zone (hud.gov). You must measure the roof-to-roof edge, not the post-to-post edge, to ensure you are compliant with the setback. A structure that is 10' wide with a 12" overhang will need to be placed 1 foot further from the fence than you might have planned.
Vertical Headroom and Obstructions:
Vertical clearance should measure at least 7 feet from the patio surface to the lowest point of the pergola roof, with 8 feet being more comfortable for taller individuals (iccsafe.org). Measure from the finished patio surface, not the ground beside it, since paver thickness adds up.
Accounting for the 'Swing Zone':
A specific clearance issue that is often missed is the door swing. If your pergola is attached near a door, measure the arc of the door swing. The door needs to open fully without hitting the pergola's beam or post. Mark the arc on the ground with chalk before you finalize the post placement. Similarly, check for gutter downspouts, if a downspout runs down the wall where your ledger board will mount, you will need to relocate it or frame around it, which changes your height and width calculations.
The 'Obstacle Override' Rule:
If you have a low-hanging tree branch or a second-story window eave, these become the limiting factor for your pergola height, regardless of the 7-foot minimum. Measure the distance from the patio floor to the bottom of the obstruction. If that distance is less than your desired pergola height, you must either lower the pergola or trim the obstruction. This is a non-negotiable constraint that overrides your aesthetic preferences.
Attached vs. Freestanding: Ledger Board and Roof Overhang
An attached pergola mounts directly to your house via a ledger board, which transfers the structural load to the home's framing. This requires a solid attachment point, typically at the beam height where the pergola roof meets the wall. You'll need to locate wall studs and verify the siding material can support the connection, since brick and stucco require different anchoring methods than wood siding.
Freestanding pergolas skip the ledger board entirely, relying on four or more posts anchored to the patio. This simplifies the measurement process, since you don't need to account for the house wall, but it demands a larger footprint for stability. Anchor points must be secured with expansion bolts into concrete or proper footings below the frost line, especially in regions with harsh weather.
Conclusion: Your Perfect Pergola Fit Starts Here
Accurate measurements transform a potential installation headache into a straightforward weekend project. By mapping your patio footprint, understanding standard pergola dimensions, planning post placement, and verifying clearance requirements, you're set up for a structure that looks custom-built for your space. Backyard Comfort CO offers a range of louvered pergolas, from a compact 10' x 10' model to a spacious 12' x 20' design, all built with weather-ready aluminum frames engineered to handle wind speeds up to 72 mph. With free shipping on most orders within the continental U.S. and a 30-day return policy, you can order with confidence knowing your measurements will deliver the outdoor retreat you envisioned. Get started with Backyard Comfort CO and turn your measured patio into a lasting outdoor living space.
Frequently Asked Questions
What size pergola for a 10x10 patio?
For a 10x10 patio, a 10x10 pergola is the standard match, but you need to account for post placement and clearance. The posts sit slightly inside the footprint, so the actual roof overhang should align with your patio edges. If you want more shade coverage, consider a 12x12 pergola with a 1-2 foot overhang. Always check your local building codes before purchasing.
Should the pergola cover the entire patio or just a section?
This depends on how you plan to use the space. If you want full sun protection for a dining set or seating area, cover the entire patio. If you have a larger patio and want to keep some areas open for sun, a partial coverage pergola works well. A good rule is to measure the specific zone you want shaded and match the pergola to that area.
How do I account for roof overhangs when measuring?
Roof overhangs extend beyond the posts, so measure from the outside edge of the roof, not the post line. If your pergola has a 12-inch overhang, the posts sit 12 inches inside the roof edge. This matters when measuring clearance from your house wall or property line. Check your local building codes for setback requirements.
What tools are needed to measure a patio for a pergola?
You need a 100-foot tape measure, a string line or chalk line, stakes or painter's tape, a notepad, and a level. For marking post locations, spray paint or landscape flags work well. A laser distance measure speeds up the job for large patios, and a digital level helps check slope and drainage.