 how-to
How to Build a DIY Winter Patio Windbreak: Step-by-Step
Last Updated: October 23, 2026
Quick Summary
Build a patio windbreak by setting pressure-treated posts on the windward side, attaching rails and horizontal boards with small gaps to bleed air, then anchoring every post and bracing each panel. A mix of solid lower boards and a porous upper section slows airflow without the sail effect.
- Place the barrier on the windward side and keep a gap between it and the seating area.
- A barrier with roughly 20-40% open area slows airflow without the sail effect.
- For a panel up to about 6 feet tall, set posts no more than 6 to 8 feet apart.
- In soil, dig footings about 24 to 36 inches deep and set posts in concrete or packed gravel.
- Use weighted bases of at least 50 pounds per post for a freestanding screen on a deck.
Table of Contents
- How to Block Wind on a Patio: Start With the Right Plan
- Patio Wind Barrier Materials: What Works and What It Costs
- Patio Windbreak Placement: Where to Put It for Maximum Shelter
- Step 1: Build a Wooden Frame Windbreak
- Step 2: Hang Clear Vinyl or Fabric Panels
- Step 3: Create a Temporary Patio Enclosure for Winter
- Step 4: Anchor and Secure Your Patio Windbreak
- Frequently Asked Questions
How to Block Wind on a Patio: Start With the Right Plan
A patio windbreak is a barrier that slows or redirects wind before it reaches your seating area, and it works best when you plan placement and materials before you buy anything. For broader outdoor living space ideas for cold weather climates, see our related guide. Below, we'll show you exactly how to build a DIY winter patio windbreak in four steps, from frame to anchoring.
Here's what most guides get wrong: they treat wind as something to stop completely. Solid walls don't stop wind, they redirect it, and a fully sealed barrier can catch gusts like a sail. The better approach is to slow airflow, not fight it.
That single idea shapes every decision that follows.
FEMA guidance on wind-safe outdoor structures
Start with three numbers before you touch a saw:
- Wind direction: Note where winter gusts hit your patio most often.
- Patio size: Measure the length of the side you want to shield.
- Budget: Set a cap before shopping so material choices stay honest.
Patio Wind Barrier Materials: What Works and What It Costs
Patio wind barrier materials fall into four families, and each trades cost against durability, looks, and how much wind it lets through. For a winter build, the deciding factors are permeability (how much air passes through), snow and ice loading, and whether the material can be taken down and stored. Here's how they compare.
| Material | Wind Behavior | Winter Durability | Maintenance | Relative Cost | Best For |
|---|---|---|---|---|---|
| Wood boards | Solid, redirects wind; gaps bleed air | Good if pressure-treated and sealed | Re-seal every 1-2 years | Low to moderate | Framed windbreaks |
| Clear vinyl | Fully blocks wind and view loss | Medium; brittle in deep cold, loads with snow | Wipe down; replace every few seasons | Moderate | Views and light |
| Woven mesh / fabric | Slows airflow, reduces turbulence | Medium; UV and ice wear | Rinse; store dry | Low | Fences and railings |
| Hedges | Filters wind | Long-term; needs winter hardiness | Prune annually | Moderate upfront | Living screens |
Wood boards give you the most control. If you're weighing a permanent structure instead, our pergola buyer's guide covers what to look for. Horizontal boards let you leave small gaps that bleed air through, which reduces the sail effect. Pressure-treated lumber rated for ground contact is the baseline for anything touching soil or snowmelt. Clear vinyl panels seal a space tight and keep your view, but they load up in heavy wind and snow, so frame them well and plan to roll them up before a storm. Woven mesh and fabric screens are the cheapest route and the easiest to hang on an existing railing; choose a UV-stabilized weave and take it down before ice sets in. Hedges take years to mature but never need storing, pick a species hardy to your winter low.
A practical way to think about permeability: a fully solid barrier redirects wind up and over, which can create turbulence on the downwind side. A barrier with roughly 20-40% open area slows airflow without the sail effect. Most practitioners find that a mix, solid lower boards with a porous upper section, gives the best winter shelter.
Patio Windbreak Placement: Where to Put It for Maximum Shelter
Place your patio windbreak on the side where wind hits first, and set it back from the seating area so gusts deflect up and over rather than swirling around the edges. Before you finalize placement, learn how to measure your patio for a pergola. Placement matters more than material, so get this right before building.
A few rules we follow:
- Put the barrier on the windward side, not the view side.
- Keep a gap between the barrier and the seating area.
- Angle the ends slightly inward to guide air around, not into, the space.
- Leave an opening on the downwind side so air has somewhere to go.
Step 1: Build a Wooden Frame Windbreak
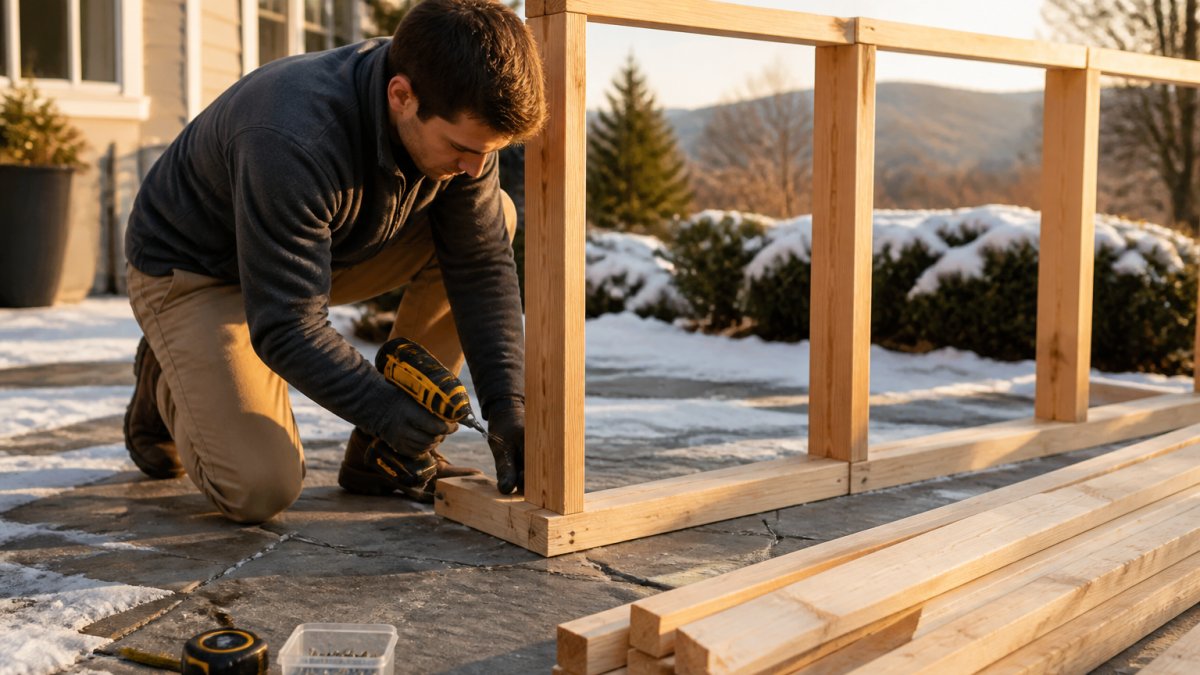
A wooden frame windbreak is a simple post-and-rail structure you build flat, then stand upright and brace. If you're deciding whether to build it yourself or hire help, our DIY vs professional pergola assembly guide explains the tradeoffs. Expect a few hours for a basic panel, depending on size.
- Mark your post spacing. Set posts evenly along the run you measured.
- Cut posts and rails. Use pressure-treated lumber rated for ground contact.
- Attach rails to posts. Build each panel flat on the ground for square corners.
- Add horizontal boards. Space them with small gaps to bleed wind.
- Stand and brace. Lift each panel, check for plumb, and brace until anchored.
Expected result: A rigid panel that flexes only slightly when you push it. If it wobbles, add a diagonal brace.
12X20 Louvered Pergola,Dark Grey Aluminum Frame with Adjustable Rainproof Roof →
Step 2: Hang Clear Vinyl or Fabric Panels
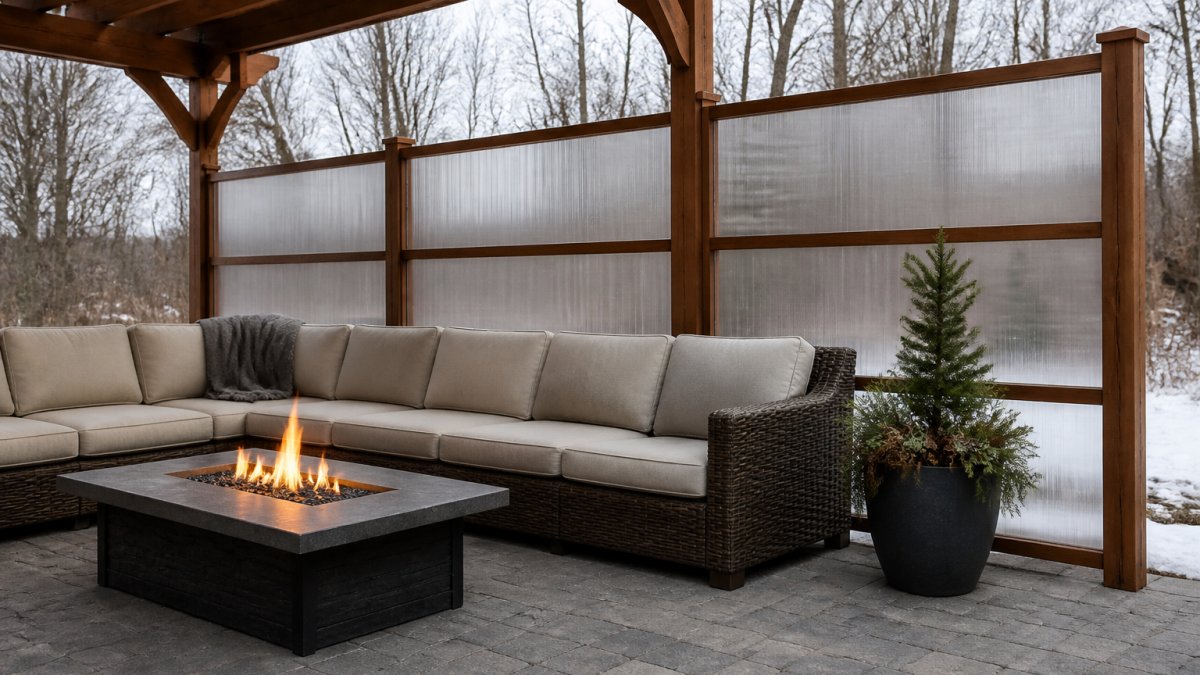
Hang clear vinyl or fabric panels from the top rail down, fastening them along all four edges so they don't flap in gusts. Loose panels whip, tear, and rattle all night.
Use these fastening habits:
- Space grommets or clips evenly along the top and sides.
- Leave a small gap at the bottom for drainage and airflow.
- Roll and tie panels up on calm days to extend their life.
- Choose marine-grade vinyl if the panel faces sun all day.
Step 3: Create a Temporary Patio Enclosure for Winter
A temporary patio enclosure for winter uses removable panels and frames so you can open the space again in spring. Renter-friendly builds skip ground anchors and rely on weighted bases instead.
For a quick enclosure:
- Frame each opening with removable posts.
- Hang vinyl or fabric panels with clips.
- Weight the bases with sandbags or planters.
- Store panels flat when the season ends.
If you decide a permanent wind-and-weather solution beats a temporary one, take a look at our 12X20 Louvered Pergola,Dark Grey Aluminum Frame with Adjustable Rainproof Roof, Featuring Waterproof Curtains and Nets (https://backyardcomfortco.com/products/12x20-louvered-pergola-dark-grey-aluminum-frame-with-adjustable-rainproof-roof-featuring-waterproof-curtains-and-nets). It ships with curtains and insect nets, and the adjustable louvered roof lets you tune shade and airflow through the year.

Step 4: Anchor and Secure Your Patio Windbreak
Anchor every post and weight every base, because an unsecured windbreak becomes a projectile in a storm. Match the anchor to your surface: ground anchors for soil, expansion bolts for concrete, and weights for decks you can't drill. This is the step most guides skip, and it's the one that keeps the build standing through a winter gust.
Post spacing and footing. For a panel up to about 6 feet tall, set posts no more than 6 to 8 feet apart. In soil, dig footings about 24 to 36 inches deep and set posts in concrete or packed gravel; deeper is better in frost-prone ground. For a freestanding screen on a deck, use weighted bases of at least 50 pounds per post and cross-brace the frame.
Fasteners. Use galvanized or stainless structural screws and bolts rated for exterior use. Expansion bolts for concrete should be sized to the post base and embedded per the manufacturer's spec. Avoid deck screws as the sole structural fastener on a tall panel.
Bracing. Add a diagonal brace on at least one side of each panel, or a knee brace at the top corners. A panel that flexes more than slightly when pushed needs more bracing, not more anchors.
Work through this checklist:
- Anchor each post at the base and add a diagonal brace
- Use expansion bolts on concrete, ground anchors in soil
- Weight temporary bases with sandbags
- Check fasteners after the first big gust
- Re-tighten panels monthly through winter
OSHA guidance on outdoor structure stability
Frequently Asked Questions
How high should a patio windbreak be?
A patio windbreak should be tall enough to shield seated and standing people from wind. For most patios, a height of 6 to 8 feet works well. If you plan to use the space while standing or entertaining, aim for at least 6 feet. Keep in mind that local building codes may limit fence or screen heights, so check with your city before building. A windbreak taller than 8 feet can catch more wind and may need stronger anchoring.
Should a patio windbreak be solid or allow some airflow?
A windbreak that allows some airflow is usually better than a completely solid wall. Solid barriers create strong turbulence on the downwind side, which can make the patio feel windier. Materials like mesh, woven fabric, or slatted wood let a small amount of air pass through, reducing that turbulence. For winter use, a combination works well: a solid lower section to block cold gusts and a permeable upper section to relieve pressure.
How do I secure a temporary patio windbreak in windy weather?
Secure a temporary windbreak with weighted bases, ground stakes, or sandbags at each post. For frame-based designs, drive stakes at least 12 inches into the ground or use heavy planters as anchors. Attach panels with bungee cords or clips that can flex in gusts rather than tear. If your area expects high winds, take down fabric or vinyl panels before a storm and store them indoors. Always check that your anchoring method matches your patio surface.
What is the best material to block wind on a patio?
The best material depends on your budget and how permanent you want the windbreak to be. Clear vinyl panels block wind while letting in light and are popular for winter patios. Wood boards or lattice offer a classic look and good durability. Woven fabric or mesh is affordable and easy to remove. For a long-term solution, some louvered pergolas with curtains provide adjustable wind protection and can handle wind speeds up to 72 mph when properly anchored.