 how-to
How to Measure Your Backyard for a Pergola
Table of Contents
- Why Accurate Measurements Matter Before You Buy
- Step 1: Choose Your Pergola Type and Location
- Step 2: Measure the Patio or Ground Footprint
- Step 3: Determine Post-to-Post Dimensions and Rafter Length
- Attached vs Freestanding Pergola Measurements
- Check Pergola Clearance Requirements and Overhead Obstructions
- How to Measure on Sloped or Uneven Terrain
- Tools You Need and Common Measuring Mistakes
- Frequently Asked Questions
Last Updated: September 5, 2026
Why Accurate Measurements Matter Before You Buy
A pergola that is six inches too wide for its intended space can turn a weekend project into a costly headache involving return shipping fees and patio damage. Measuring correctly from the start is the difference between a seamless installation and a structural compromise.
This guide walks you through the exact process to measure backyard for pergola placement, covering footprint dimensions, clearance, and terrain challenges.
Step 1: Choose Your Pergola Type and Location
Before any tape measure comes out, decide between an attached pergola and a freestanding unit. An attached pergola mounts to a ledger board on your house, which means one side of the structure relies on the wall for support. A freestanding pergola stands on four or more posts and requires no connection to existing structures.
Walk your yard and identify the intended spot, considering how the structure relates to your home's roofline, nearby trees, and underground utilities. Call 811 before any digging to have utility lines marked (call811.com). Mark the general area with a garden hose or rope to visualize the footprint before committing to precise measurements.
Step 2: Measure the Patio or Ground Footprint
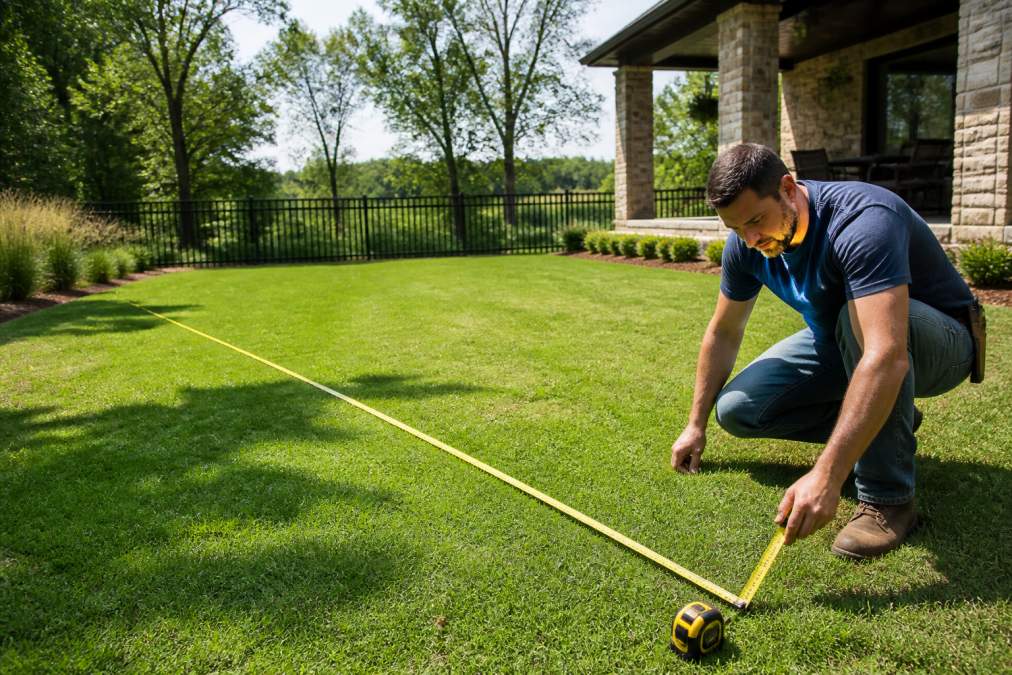
Measuring the footprint is the most critical measurement you will take. Use a long tape measure to record the length and width of the patio or ground area where the pergola will sit. For a rectangular space, measure at both ends and the middle, then use the smallest figure to ensure the structure fits comfortably.
Pergola footprint measurement checklist:
- Measure length and width at three points each
- Record the smallest dimensions, not the average
- Add 24 inches of breathing room on all sides for visual comfort
- Check that the footprint sits at least 36 inches from property lines where local codes require setbacks
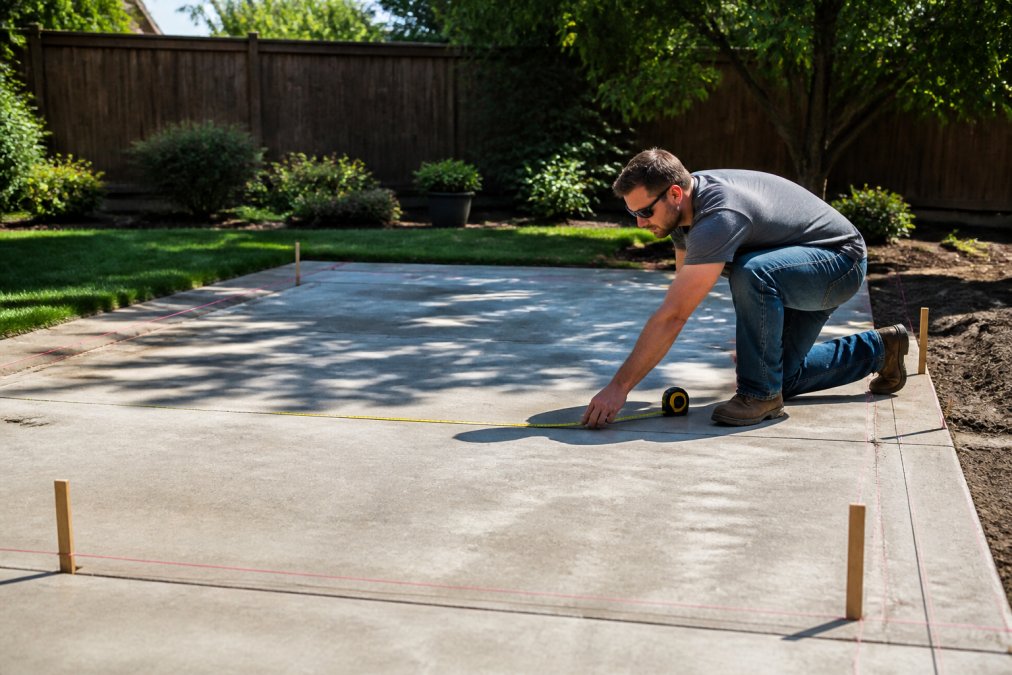
Measuring for Setback Compliance (The Step Most Guides Skip)
Most online guides stop at the patio edge, but your local zoning ordinance likely cares about where the pergola sits relative to your property lines. A setback is the minimum distance a structure must be from the boundary of your lot. Typical residential setbacks range from 5 to 15 feet from the front property line and 3 to 10 feet from side and rear lines, but these figures vary widely by municipality (iccsafe.org).
To measure for setback compliance, you need a reference point that is not your house. Follow this workflow:
- Locate your property pins. These are metal stakes buried at the corners of your lot, usually flush with the ground. If you cannot find them, your local assessor's office or a land surveyor can help. Do not guess where your property line is; a neighbor's fence is not a reliable boundary marker.
- Run a string line between the pins that define the boundary closest to your planned pergola. This gives you a straight, measurable reference edge.
- Measure perpendicular from the string line to the nearest edge of your planned pergola footprint. This distance must meet or exceed the required setback for an accessory structure in your zone.
- Record the measurement and keep it with your permit application. If you are within a few inches of the limit, shift the pergola footprint before you dig.
A common mistake is measuring from the house wall to the property line and assuming the pergola can fill that entire space. That approach ignores the setback buffer on the property-line side. For example, if your side yard is 12 feet wide and the setback is 5 feet, your pergola footprint cannot exceed 7 feet in that direction.
Before you finalize your layout, call your local building department and ask two questions: Do I need a permit for a pergola under 200 square feet, and what is the required setback for an accessory structure in my zone? Many jurisdictions exempt small, open-roof structures from full permitting, but the setback rules often still apply. Consult your municipal building department or check International Code Council guidelines on deck and patio structures for the general framework, then confirm the local amendment.
If your planned footprint conflicts with the setback, you have three options: shrink the pergola, move it deeper into the yard, or apply for a variance. A variance typically requires a public hearing and a fee, so exhaust the first two options before pursuing that path.
Step 3: Determine Post-to-Post Dimensions and Rafter Length
The post-to-post dimension is the distance between the outer edges of the support posts, which is always smaller than the overall frame size. Rafter length, also called projection, is the horizontal distance the roof structure extends beyond the posts. Most pergola kits list both dimensions, so you need to confirm your space accommodates the full projection, not just the post footprint.
For a freestanding pergola, the post-to-post measurement should match the interior space you want to cover, such as a 12-foot span for a dining set. The total footprint equals the post-to-post dimension plus the beam width and overhang on each side. Always verify the manufacturer's spec sheet for the exact projection, as it varies between designs.
Attached vs Freestanding Pergola Measurements
Attached pergolas require additional measurements that freestanding units do not. You must locate the wall studs where the ledger board will mount and measure the distance from the ground to the attachment point. This determines post height and ensures the structure slopes slightly away from the house for drainage.
Freestanding pergolas demand accuracy on all four corners, since there is no wall to reference. Measure diagonally from corner to corner in both directions; when the two diagonal measurements match, the layout is square. A difference of more than half an inch means the posts will not align with the beam brackets during assembly.
| Measurement Type | Attached Pergola | Freestanding Pergola |
|---|---|---|
| Wall attachment | Ledger board on studs | None required |
| Post height | Measured from ground to ledger | Measured from ground to beam |
| Squaring method | Wall provides reference | Diagonal corner measurements |
| Slope consideration | Pitch away from house | Level all four corners |
Check Pergola Clearance Requirements and Overhead Obstructions
Pergola clearance requirements involve both vertical and horizontal space. The structure needs at least 7 feet of clearance from the ground to the bottom of the beams for comfortable walking underneath. Overhead, check for tree branches, eaves, gutters, and power lines that could interfere with the roofline.
Walk the perimeter of your planned footprint and look upward. Note any branches that overhang the area and estimate their clearance from the top of the pergola roof. A branch that looks fine in summer may sag significantly under snow or heavy rain. Also confirm that the structure will not block windows, doors, or ventilation paths for your home.
Furniture Clearance: Sizing the Space for How You Actually Use It
The most overlooked measurement in pergola planning is not the structure itself, it is the furniture you plan to put under it. A pergola that perfectly fits your patio can still feel cramped if you cannot pull chairs out or walk around the table. Measure your furniture first, then size the pergola around it.
Dining sets. A standard 6-person rectangular dining table measures roughly 3.5 feet by 6 feet. To pull chairs out and allow someone to walk behind seated diners, you need at least 3 feet of clearance on each side of the table. That means a 6-person dining set needs a pergola footprint of at least 9.5 feet by 12 feet, before accounting for post placement.
Lounge furniture. A typical deep-seat outdoor sofa is about 3 feet deep. You need 18 to 24 inches of walk space in front of it for people to pass comfortably, and at least 12 inches behind it if the sofa backs against the pergola edge. A conversational grouping with two sofas and two chairs in an L-shape needs a pergola footprint of roughly 12 feet by 14 feet to feel open rather than crowded.
The 3-foot rule. As a general guideline, plan for a minimum 3-foot walkway around any furniture piece that people need to access from all sides. For furniture placed against the pergola perimeter, reduce this to 18 inches on the wall side. These numbers come from standard interior design clearance guidelines, which translate well to outdoor rooms.
Post placement matters. Posts sit at the corners of the structure, inside the overall footprint. A post that lands 2 feet from the edge of your dining table creates a pinch point that makes the space feel tighter than the raw dimensions suggest. When you mark your footprint, place a chair at the table and pull it out to confirm it clears the post location.
Vertical clearance for furniture. The 7-foot minimum clearance under the beams works for standard dining chairs and sofas. If you plan to hang a swing, a hammock chair, or pendant lights from the beams, add the drop length of that item to your clearance calculation. A pendant light that hangs 18 inches below a 7-foot beam leaves only 5.5 feet of headroom, which is too low for most adults to walk under comfortably. In that case, raise the beam height or choose flush-mounted lighting.
How to Measure on Sloped or Uneven Terrain
Sloped terrain requires a different approach than flat ground. Measure the elevation change across the footprint by running a string line level from the highest corner to the lowest. The vertical drop determines whether you need to dig post holes to different depths or use adjustable post bases.
For a slope of less than 2 inches across the span, you can typically level the posts with shims or by adjusting the concrete footing depth. Steeper slopes may require stepped footings or a retaining wall to create a level installation surface. Many kits, including the 12' X 24' Wood Pergola from Backyard Comfort CO, include stakes and support components for uneven ground, but verify the maximum slope tolerance before ordering.

A common mistake is assuming the ground is level because the patio looks flat. Use a 4-foot level on a straight 2x4 board to check for low spots, and remember that standing water after rain reveals drainage issues that will affect post footings.
Tools You Need and Common Measuring Mistakes
Gather these tools before you start: a 100-foot tape measure, marking stakes, string line, a 4-foot level, a chalk line, and a notepad. A laser distance measurer speeds up the process for long spans and reduces the risk of tape sag on uneven ground. Some homeowners use augmented reality apps from pergola manufacturers to preview scale before ordering.
The most frequent measuring mistakes involve forgetting the projection, measuring to the wrong reference point, and skipping the diagonal check. Always measure from the outer edge of the intended posts, not the inside of the existing patio. Write down every figure immediately.
If you are replacing an existing structure or working with an oddly shaped yard, consider the 10' X 12' Louvered Pergola for its adjustable roof and integrated gutter system, which requires precise measurements for the gutter drainage path. For larger entertaining areas, the 16 Ft. W X 12 Ft. D Aluminum Pergola offers a retractable canopy that needs clear overhead space to extend fully.


Before finalizing your order, review your measurements against the manufacturer's spec sheet one more time. Confirm the post-to-post dimension, the projection, and the clearance all work together. This 10-minute check prevents the most common installation failures.
Getting the measurements right is the foundation of a successful pergola installation, but it is only the first step. The structure you choose must also stand up to your local climate and daily use. Backyard Comfort CO builds solid wood and aluminum pergolas designed to withstand every season. Browse our full collection of pergolas sized for spaces from intimate patios to large entertaining areas, and get started with free shipping on most orders within the continental U.S.
Frequently Asked Questions
How much clearance do I need around a pergola?
Plan for at least 18 to 24 inches of open space on each side of the pergola footprint. This gap keeps plants, gutters, and house siding from pressing against the structure. You also need headroom: the lowest beam should sit at least 7 feet above the floor so walking underneath feels comfortable. Check your local building codes for specific setback rules from property lines and structures.
How do I measure for an attached versus a freestanding pergola?
For an attached pergola, measure from the house wall outward to the far post position, and confirm the ledger board spans the full width you want. Include the roof overhang in this depth. For a freestanding unit, measure the open ground area and subtract clearance on every side. Mark the four corner posts with stakes, then verify the diagonals are equal to confirm the layout is square.
Is a 10x10 pergola large enough for a dining set?
Yes, a 10x10 pergola fits a standard 6-person dining table with chairs, but it feels tight. For comfortable movement, add 24 inches of clearance around the table edge. If you plan to include sideboards or planters, consider a 10x12 or 12x12 footprint instead. Measure your actual furniture before ordering to confirm everything fits without crowding.
Do I need to check for underground utilities before measuring?
Yes. Call 811 before you dig any post holes, and request a free utility locate. This marks underground gas, electric, and water lines so you can avoid them when placing posts. Do this before finalizing your pergola position, because moving a post location after digging is costly. Utility locates are free and typically completed within a few business days.
This article was written using GrandRanker
Frequently Asked Questions
Q: How much clearance do I need around a pergola?
A: Plan for at least 18 to 24 inches of open space on each side of the pergola footprint. This gap keeps plants, gutters, and house siding from pressing against the structure. You also need headroom: the lowest beam should sit at least 7 feet above the floor so walking underneath feels comfortable. Check your local building codes for specific setback rules from property lines and structures.
Q: How do I measure for an attached versus a freestanding pergola?
A: For an attached pergola, measure from the house wall outward to the far post position, and confirm the ledger board spans the full width you want. Include the roof overhang in this depth. For a freestanding unit, measure the open ground area and subtract clearance on every side. Mark the four corner posts with stakes, then verify the diagonals are equal to confirm the layout is square.
Q: Is a 10x10 pergola large enough for a dining set?
A: Yes, a 10x10 pergola fits a standard 6-person dining table with chairs, but it feels tight. For comfortable movement, add 24 inches of clearance around the table edge. If you plan to include sideboards or planters, consider a 10x12 or 12x12 footprint instead. Measure your actual furniture before ordering to confirm everything fits without crowding.
Q: Do I need to check for underground utilities before measuring?
A: Yes. Call 811 before you dig any post holes, and request a free utility locate. This marks underground gas, electric, and water lines so you can avoid them when placing posts. Do this before finalizing your pergola position, because moving a post location after digging is costly. Utility locates are free and typically completed within a few business days.